PDB Path
This is a tutorial how to use the PDB Path The system that we will use for this tutorial the Toll-like receptor 8.
Starting OpenMMDL-Setup
We start the tutorial by creating an folder where we will copy all the input files and later run the MD Simulation.
To create a new folder we enter the following command lines:
mkdir openmmdl_pdb_tutorial
activating our openmmdl environment to start the OpenMMDL-Setup. To start the OpenMMDL-Setup we need to activate the openmmdl environment. to do this we have to enter the following command lines:
conda activate openmmdl
Now that we have activated the openmmdl environment we can start OpenMMDL Setup. To do this you need to type the following:
openmmdl setup
Selecting Input Files
This will open the OpenMMDL-Setup, which you can use for the creation of the input files for OpenMMDL Simulation.
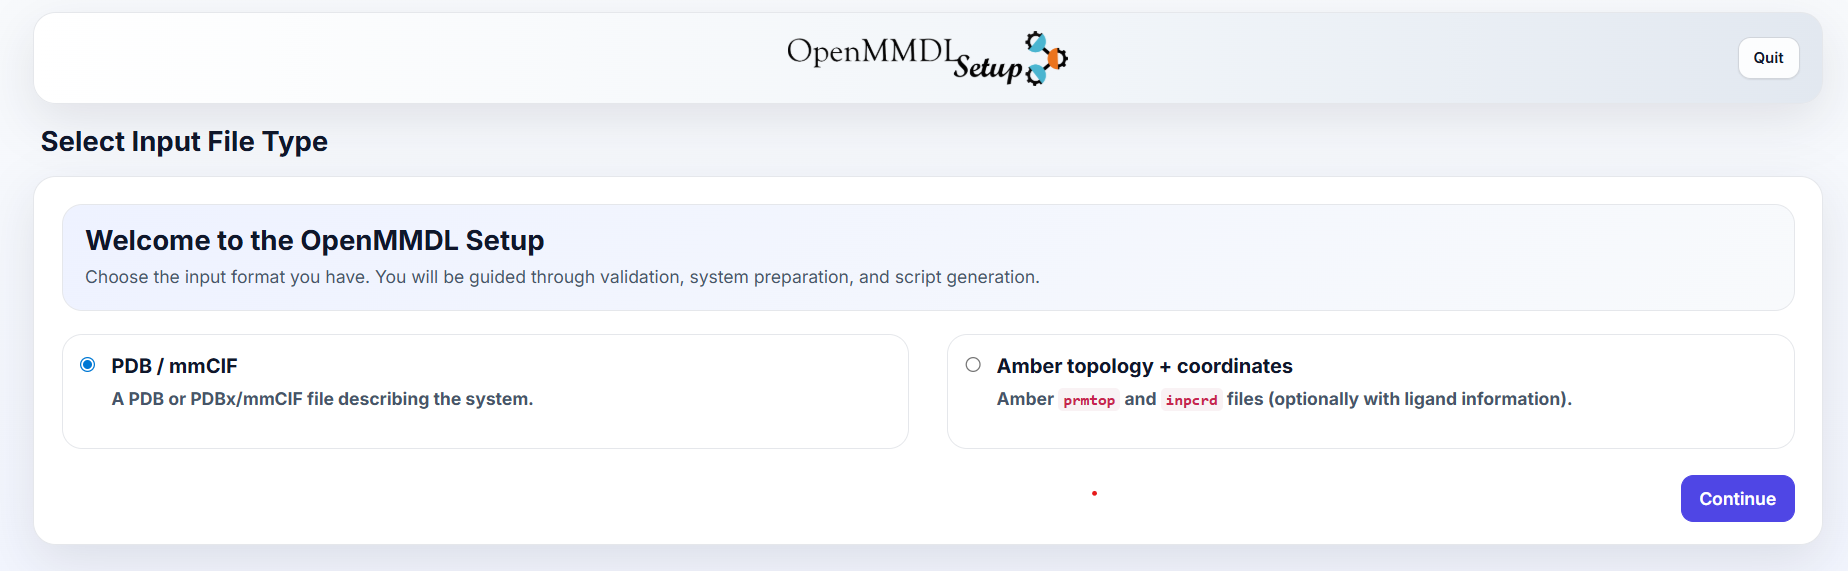
Here We select the PDB File Option and press continue.
This leads us to the next page, where we can see the selection of the PDB and SDF File of the protein and ligand respectively.
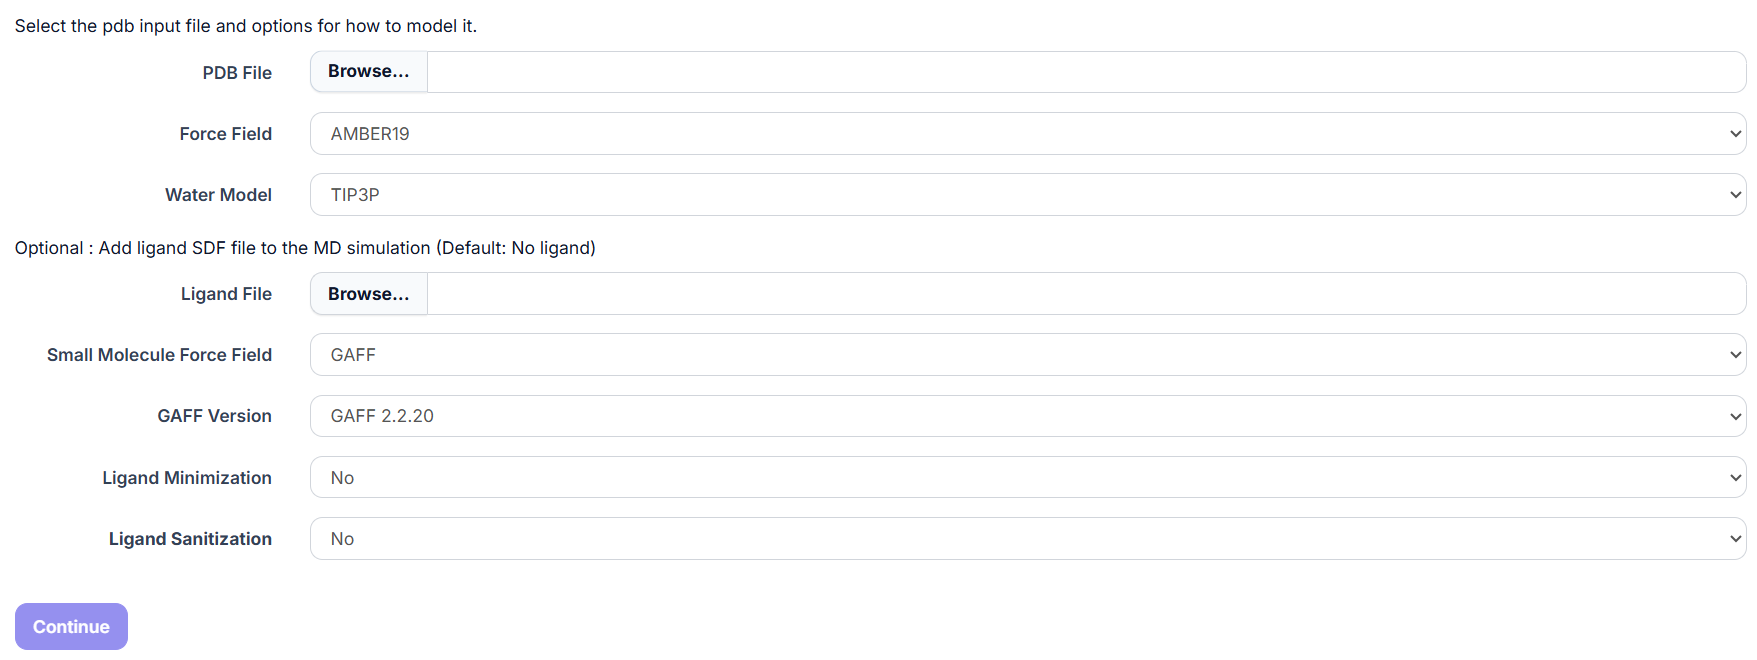
Go to the PDB File Browse button and select 5wyz.pdb in the folder.
Go to the SDF File Browse button and select the 5VF.sdf file in the folder.
The page should look like the page below.
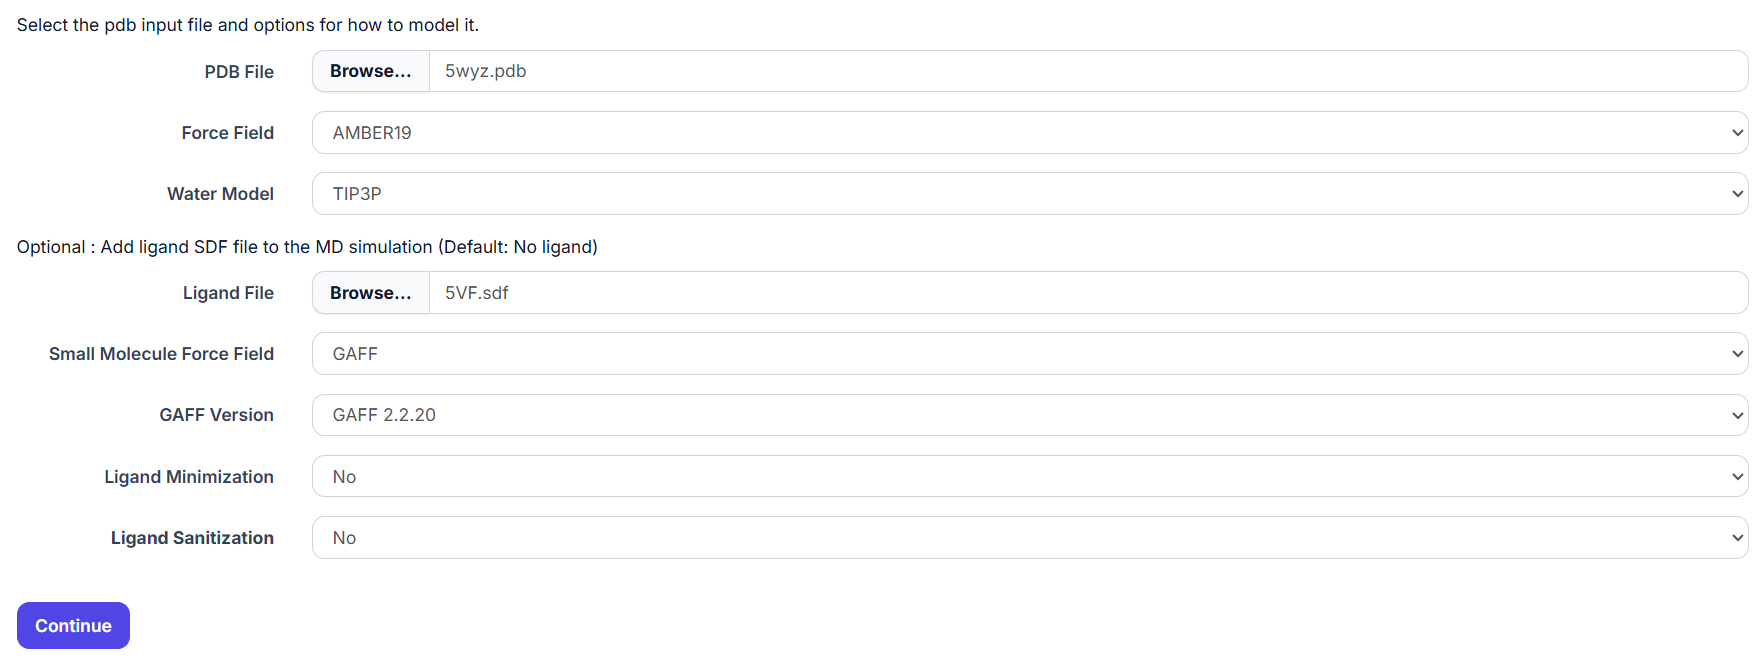
Now that we selected the PDB and SDF File we select continue and go to the next page.
Selecting Chains
The next page shows us the protein with all of the chains that are in the pdb file.

During this simulation we only require the chains A and B, thus we deselect the remaining chains.

Now that we have only the chains A and B selected we select Continue and go to the next page.
Optional: Adding Residues
The next page shows that the PDB is missing residues, which can be added.
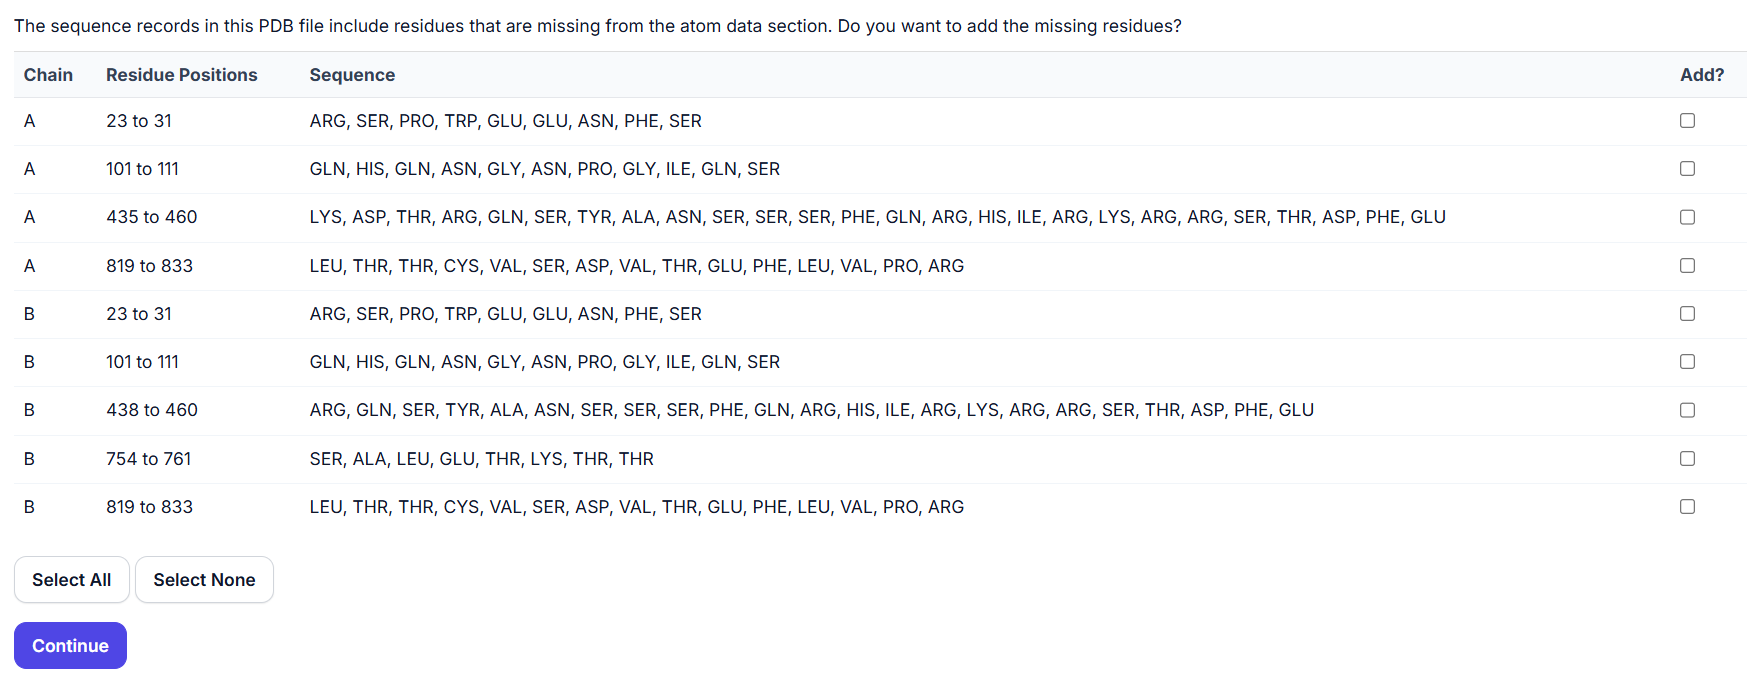
We add the missing residues from 101 to 111 and from 435/438 to 460 in the chains A and B.
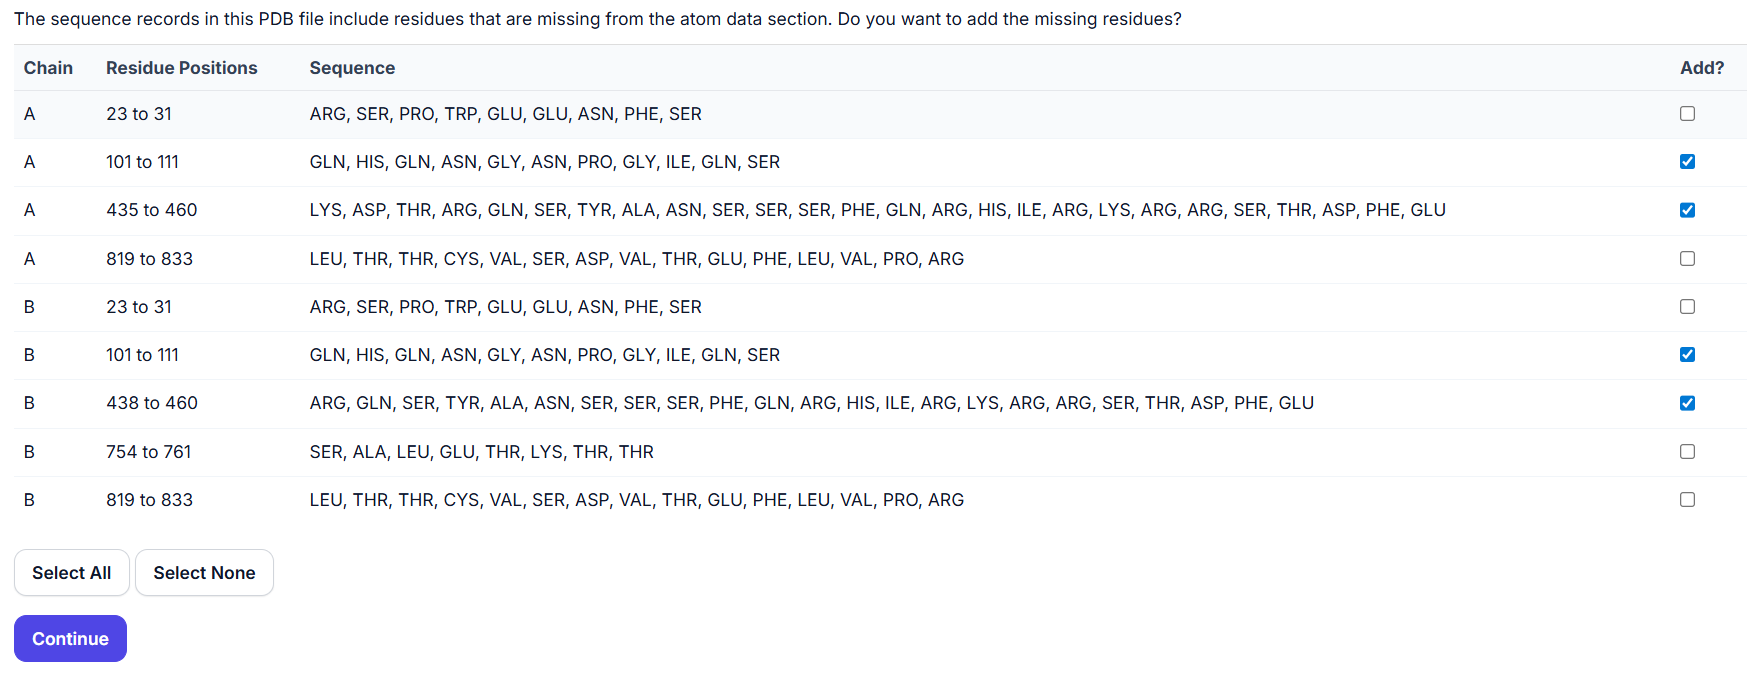
Now that we selected the residues that we want to add we continue to the next page.
Optional: Adding Heavy Atoms
The next page shows the heavy atoms that are missing and need to be added.

We press continue and go to the next page.
Adding Hydrogens and Water Box
The next page allows us to add the missing hydrogens and add a water box or an membrane.
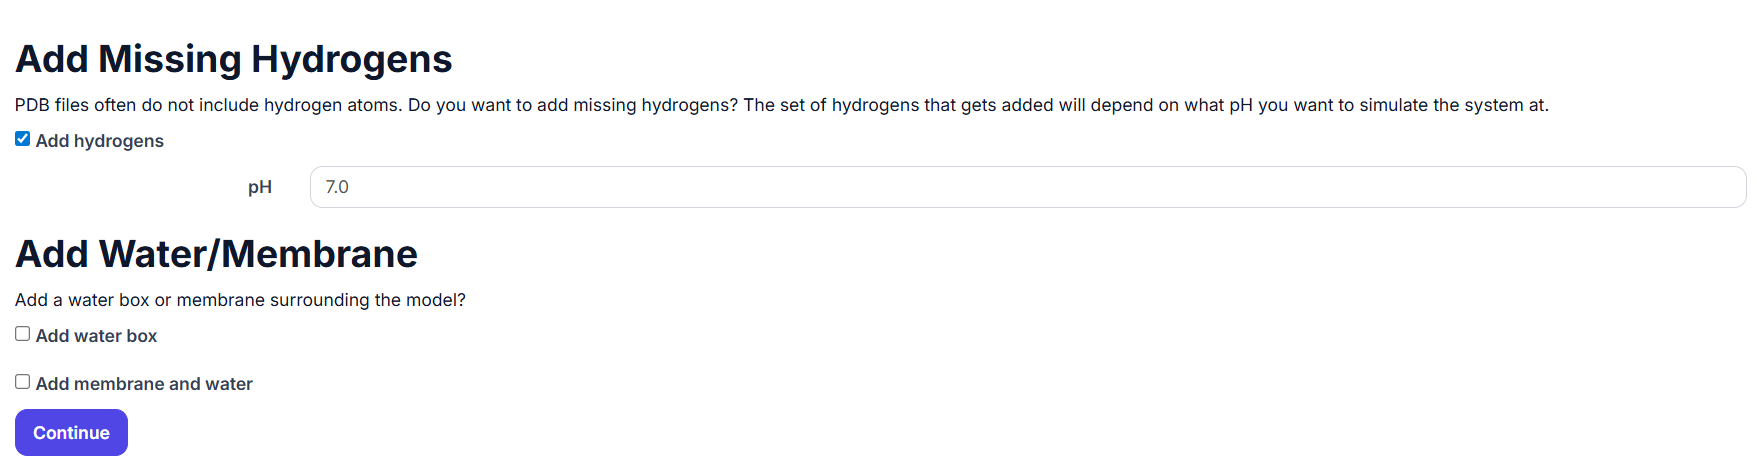
We need to add hydrogens for the MD Simulation at a pH at 7.4 so we change the number from 7.0 to 7.4.
Additionally we want to add a Water Box, so we select the Water Box Option.
In the Water Box we also change the Ionic strenght to 0.15.
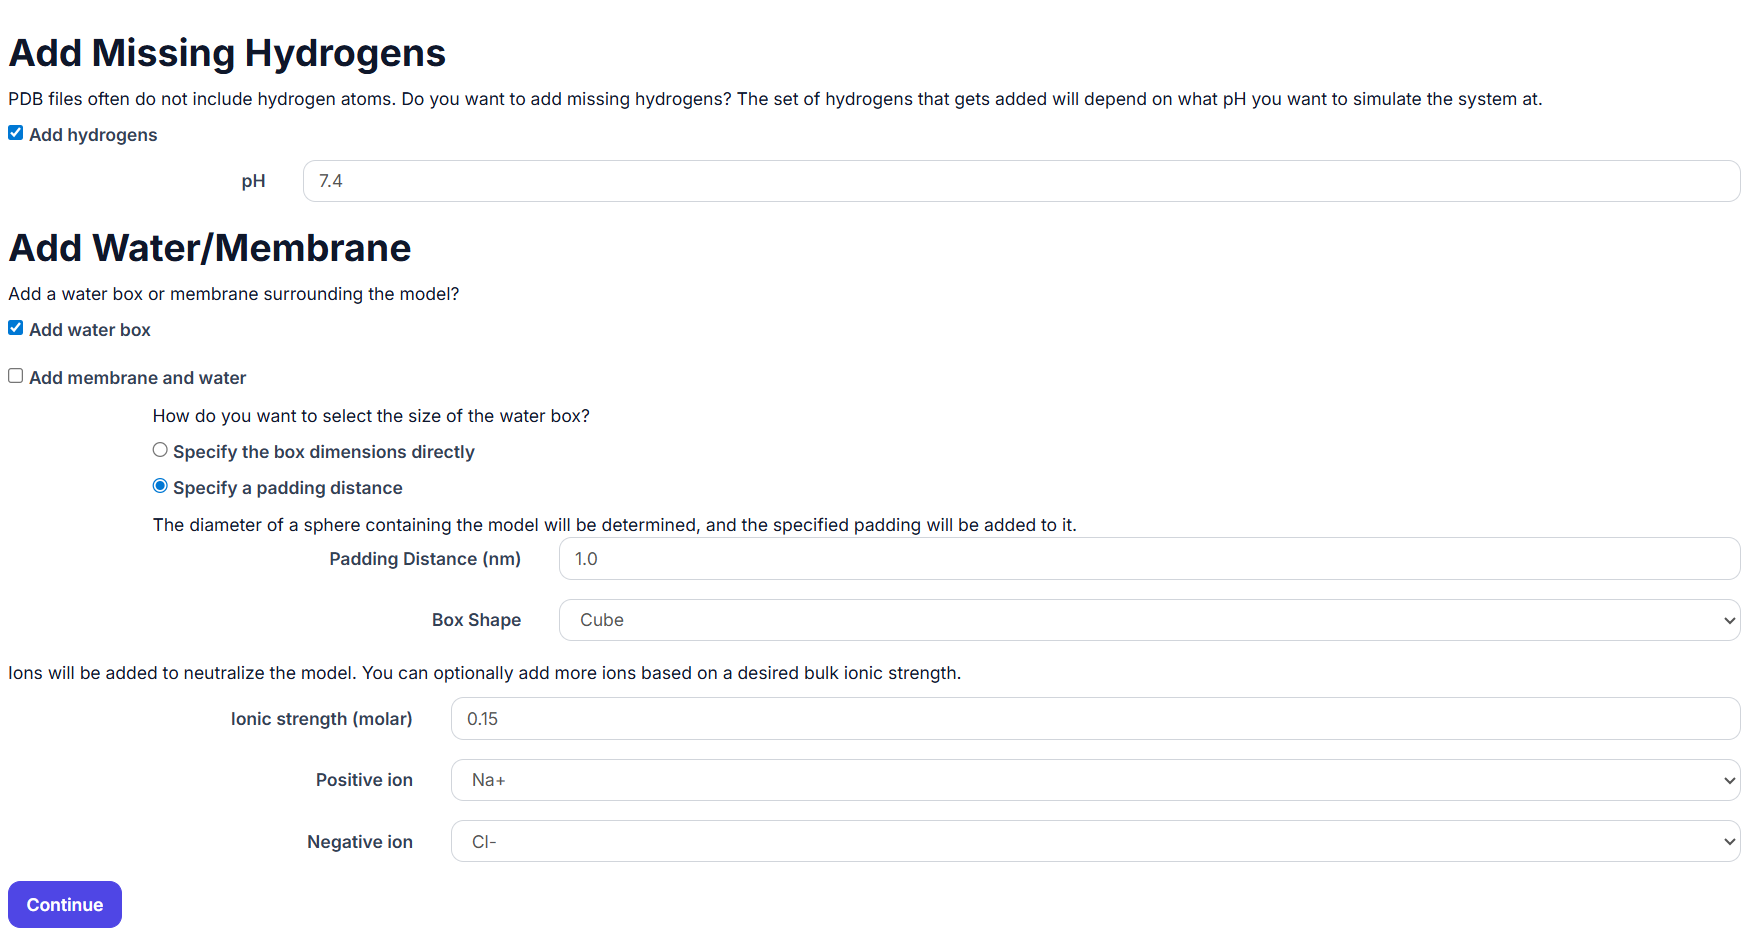
Now that we selected the following options we continue to the next page. We will simulate the protein for 50 ns.
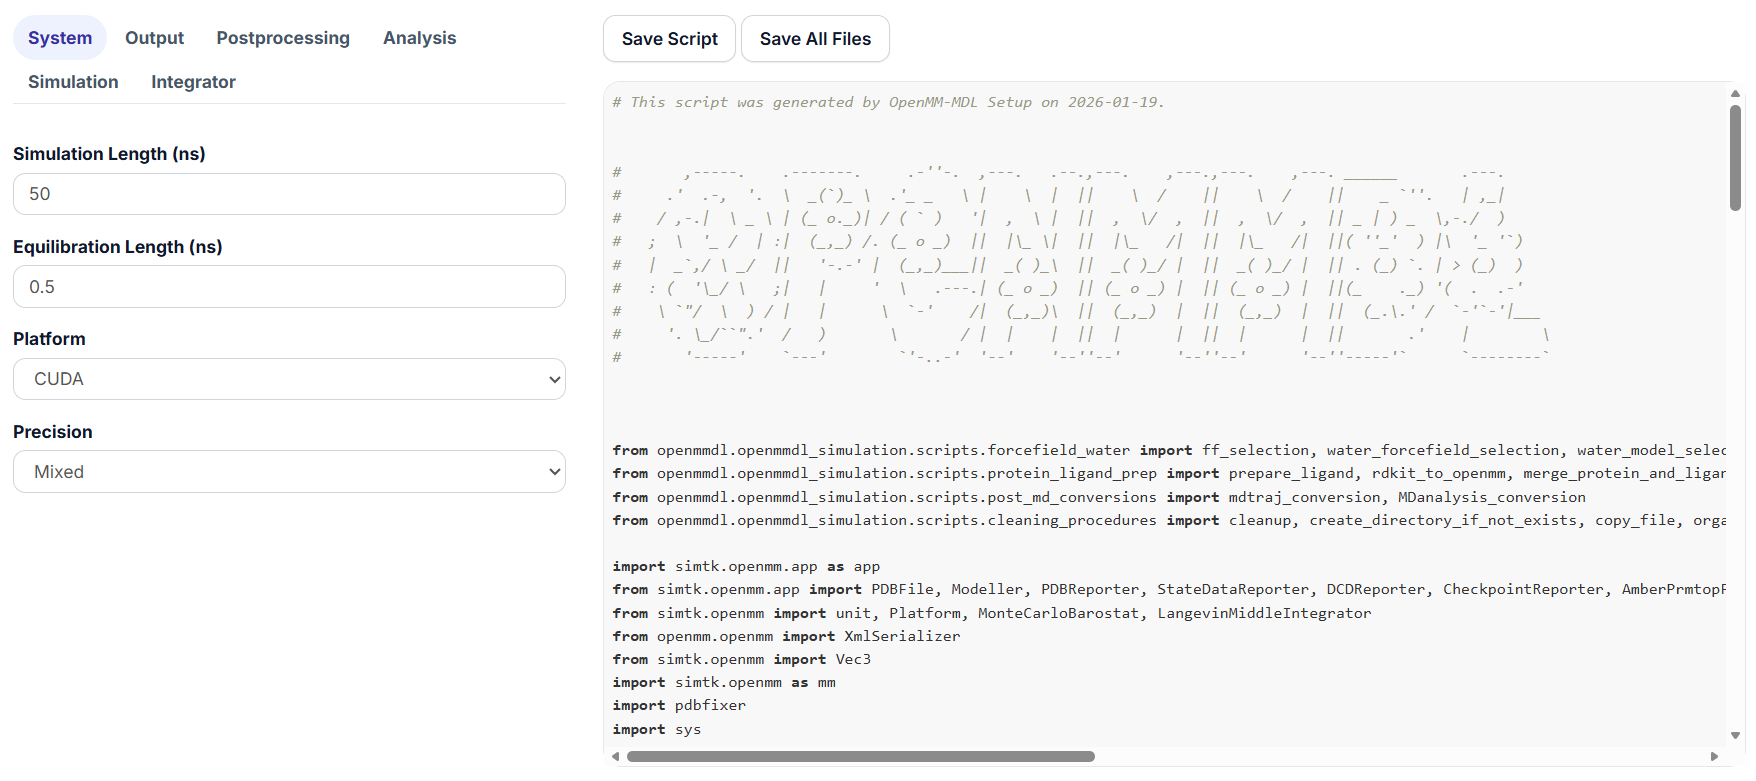
Select the Save All Files to save the prepared PDB File, the created simulation script and ligand SDF that will be the input for the MD simulation.
Running Tutorial OpenMMDL-Simulation
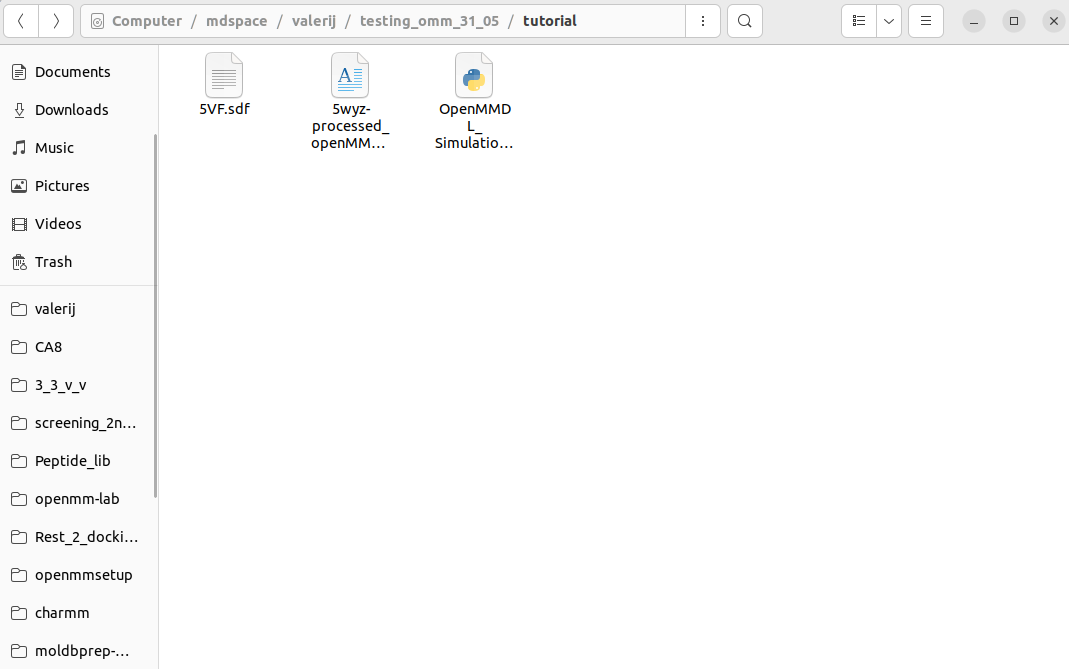
Create a separate folder and copy the Simulation script, Processed PDB File and the Ligand SDF File into the folder.
The SDF File should be the same that was used as an input for the Openmm-Setup.
Now that we have the files in one folder we can start the MD simulation.
For this we start by activating the environment
conda activate openmmdl
Now that activated the environment we start the simulation.
For this enter the following command
openmmdl simulation -f tutorial_simulation -s OpenMMDL_Simulation.py -t 5wyz-processed_openMMDL.pdb -l 5VF.sdf
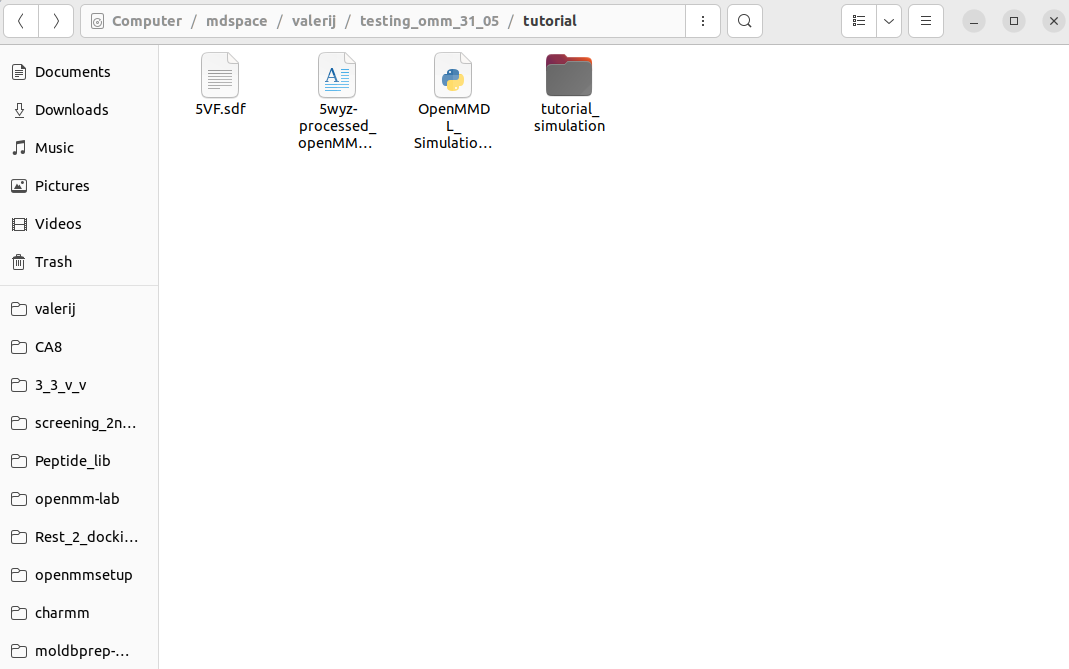
By entering the command we create a folder called tutorial_simulation, where the Output of the MD simulation will appear.
As the Input for the MD simulation we used the -t to select 5wyz-processed_openMMDL.pdb as the topology file for the simulation, -l to select the ligand 5VF.sdf and -s to specify the OpenMMDL_Simulation.py script that will run the MD simulation.
During and after simulation you can open the folder to see the progress.
After the simulation is finished the tutorial_simulation should look like the picture below.
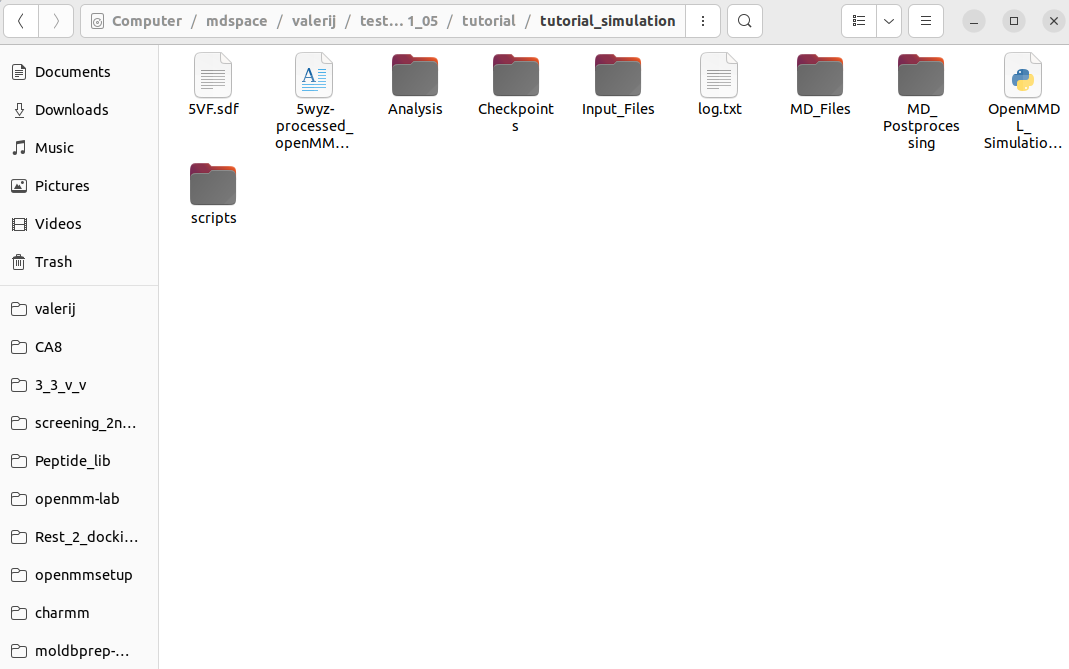
If there are files or folders missing, repeat the MD simulation.
This concludes the Tutorial for the OpenMMDL PDB Path simulations.
To see what the separate files in the Output represent follow this page: